One of the things I do after a successful P2V of a server is do some cleanup on the newly virtualized server. Cleaning up involves uninstalling any software , such as Broadcom and Dell Open Manage software, that is no longer needed for the server. I also perform clean up of the any old or removed devices through the servers Device Manager that may still be lingering around. Removing these hidden or ghost devices can prevent or fix any issues you may have with the vm.
To remove the hidden devices you will need to go to Device Manager and tell it to Show Hidden Devices, the devices will be displayed in a lighter shade than the installed devices. However, after performing many P2Vs , I found out that Device Manager doesn’t display all the devices that server may have had at one point.

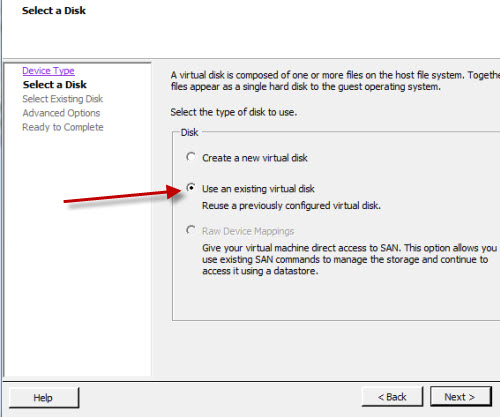
Fig1.Hidden
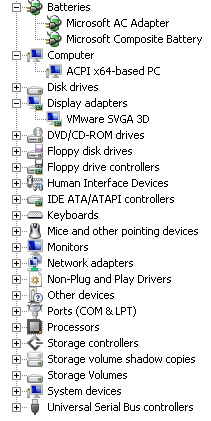
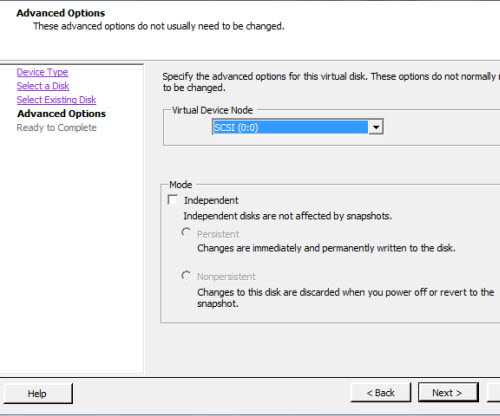
Fig2.Hidden
One would think by selecting this view everything would magically appear based on the fact that we just told Device Manager to “show hidden devices”. Since we are dealing with Windows and something that would be logical isn’t, we can the modify the registry to see these “hidden” devices . Once the registry value has been added ,reboot the server then you will be able to see all those hidden devices that were never uninstalled and you can properly uninstall them.
Add the following Registry Settings
Registry Settings
System Key: [HKEY_LOCAL_MACHINE\SYSTE\CurrentControlSet\Control\Session Manager\Environment]
Value Name: DEVMGR_SHOW_NONPRESENT_DEVICES
Data Type: REG_SZ (String Value)
Value Data: (1 = show all hidden devices)

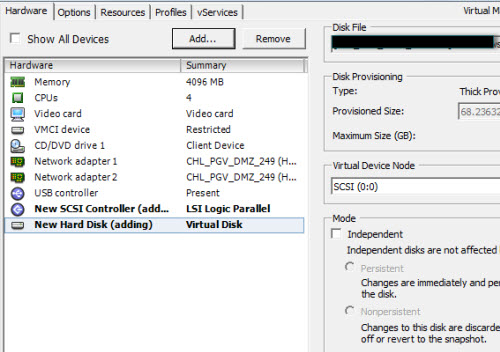
Fig3. Hidden
After Rebooting the server go back into Device Manager < Select Show Hidden Devices again and you will now see the hidden devices shaded lighter.

Fig4. Hidden
To remove a device , right click on the device and select uninstall.
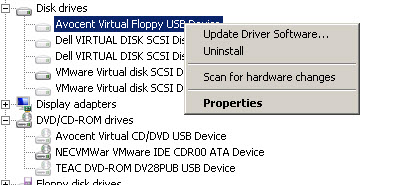
Fig5. Hidden
You may be prompted to confirm that you want to remove the device , select OK and the device will be removed.
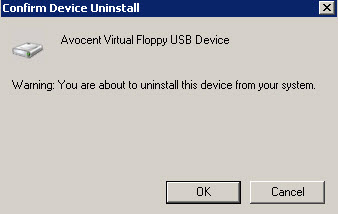
Fig6. Hidden
You can remove hidden devices on VMs or even physical servers that has been running for a while as part of overall server maintenance plan to keep your servers running in tip top shape.